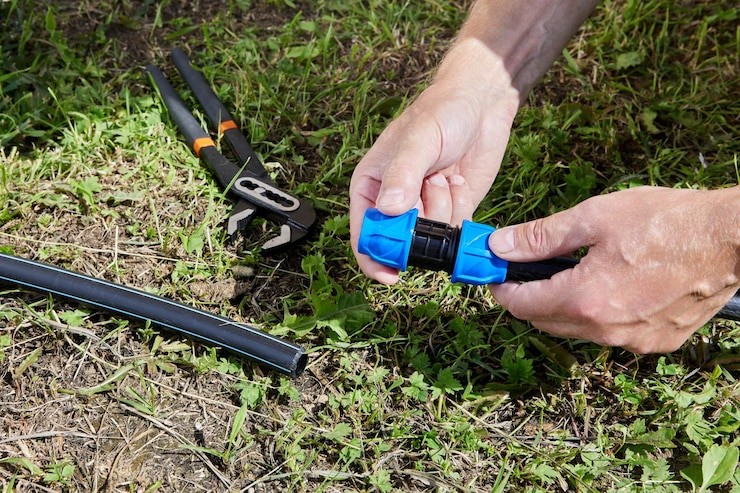
Why Is My Sprinkler System Leaking? Understanding Valve Replacement!
Sprinkler systems are essential for maintaining a lush, green lawn. However, leaks can compromise their efficiency, leading to water waste and higher utility bills. One common culprit is a faulty valve.
Understanding why your sprinkler system is leaking and knowing when to get a sprinkler valve replacement can save you time and money.
Common Causes of Sprinkler System Leaks
1. Worn-Out Seals
Over time, the seals in your sprinkler valves wear out. This degradation allows water to seep through even when the system is off. Regularly check seals for signs of wear and replace them promptly.
2. Dirt and Debris
Dirt and debris can accumulate in your sprinkler system, causing the valves to malfunction. This blockage can prevent valves from closing completely, leading to leaks. Clean your system regularly to avoid this issue.
3. Cracked Valves
Extreme temperatures, especially freezing conditions, can crack sprinkler valves. These cracks allow water to escape, resulting in leaks. Inspect valves for any visible cracks, especially after winter.
Signs You Need a Valve Replacement
1. Persistent Leaks
If your sprinkler system continues to leak despite cleaning and seal replacements, the valve itself might be damaged. Persistent leaks are a strong indicator that it's time for a replacement.
1. Uneven Water Distribution
When a valve fails, certain zones in your yard might receive more water while others stay dry. This imbalance can harm your lawn. Check for uneven water distribution as a sign of valve issues.
3. High Water Bills
A leaking sprinkler system can significantly increase your water bills. If you notice an unexplained spike in your usage, inspect your system for leaks. A faulty valve often lies at the root of the problem.
Steps to Replace a Sprinkler Valve
1. Turn Off the Water Supply
Before you begin, ensure the main water supply to the sprinkler system is off. This step prevents further leakage and allows you to work safely.
2. Remove the Faulty Valve
Locate the defective valve and disconnect it from the system. Be cautious while removing it to avoid damaging other components.
3. Install the New Valve
Attach the new valve securely, ensuring all connections are tight. Follow the manufacturer's instructions for a proper fit.
3. Test the System
Once you've installed the new valve, turn the water supply back on. Test the system to ensure the leak is resolved and the sprinkler operates efficiently.
Maintaining Your Sprinkler System
Regular maintenance can prevent leaks and prolong the life of your sprinkler system. Schedule periodic inspections, clean the valves, and replace worn-out parts as needed. This proactive approach keeps your lawn looking its best and avoids costly repairs.
Call us if you are looking for sprinkler valve replacement in Chino!
‹ Back

.png)
.jpg)
